It’s never too late to learn how to ride a bike. I learned at the tender age of 25 to ride and cruise down the sandy beach! Whether you learn at 2 years old or 25 years old, one thing is certain – you want to be comfortable when riding a bike.
But alas, it’s not as easy as it seems. If you’re older and aren’t used to being on a bike, you might find that it’s difficult to adjust to a bike seat.
Fortunately, you can easily make a bike seat more comfortable by adding extra padding, changing your bike seat completely, changing your riding style, or even wearing pants specially made for riding a bike.
Below are some of the answers you need to learn how to make your bike seat more comfortable.
Why Is My Bike Seat Uncomfortable?
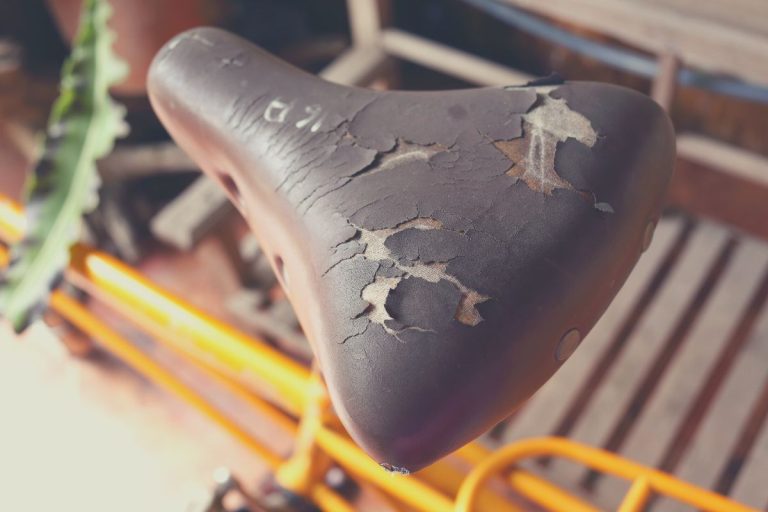
Bikes were invented in the 1800s, and since then they have been a favorite form of transportation, past-time, and exercise. Unfortunately, little has been done to change the design of the seat from over 200 years ago.
Experts did research to test a novel bike seat design on men and women and found that simply changing the bike seat was enough to reduce levels of discomfort in both men and women for a 2-hour ride. This study also found that the most common complaint due to ill-fitted bike seats were pubic bone pain!
Even though there are several types of bike seats available, bikes don’t automatically come fitted with a customized seat for your specific body type.
Body Type
Some differences in your body type that can cause pain and discomfort on your bike seat include:
- Less fat on the buttocks area
- Inexperience riding bikes
- Inexperience finding the best position during longer rides
- More pronounced public bones
- Sensitive skin prone to chaffing and sores
It’s up to riders to notice these differences in their body and change these ill-designed seats. I did it myself, after noticing my buttocks are more on the bony side. It was pure bliss changing out my hard, leather seat on my vintage Linus for a gel-padded seat!
When it comes to bike seats, it’s never one size fits all. Therefore, it’s best not to get discouraged if you’re new to bike riding (like I was) and are experiencing discomfort in your seat. You’re not alone, and there are lots of things you can do about it!
Related article – Why Does My Bike Seat Keep Coming Loose?
Should I Upgrade My Bike Seat?
Not only is upgrading your seat incredibly comfortable, but it can also help you ride longer. This will help to burn more calories and gain the mental and physical health benefits of longer bike trips. In addition, you should also upgrade your bike seat to ensure that you don’t get any injuries from your bike seat.
Common injuries experienced due to poorly fitted bike seats include:
- Saddle soreness
- Ischial Bursitis
- Pressure on the pubic area
- Numbness in the pelvic region
- Chaffing
- Rashes
- Yeast and fungal infections
Fortunately, you can prevent many of these injuries by taking the time to find a bike seat that fits right for you!
Related article – Bike Geometry Explained – What Does It Mean?

How To Make Bike Seats More Comfortable For Men And Women
There are several differences between men’s and women’s anatomical bodies that are important to consider when choosing the right seat.
In addition, studies have found that men can actually benefit more from changing their actual trunk position when riding and when using a bike seat with an anterior cutout (which looks like a slit in the middle of the bike seat that is completely cut out).
Choosing A Bike Seat For You
Below are some other pointers to keep in mind when choosing a bike seat for men and women:
- Angle your seat up or down. Women are more prone to having pressure on the front of their public bone on a traditional ride seat. For women, choosing a seat that is angled downward, or a seat that has the tip of the seat cut off can be a better option to prevent pressure on this front pubic area. Men can also benefit from a seat that is angled upward.
- Choose a seat made for your pelvic size. For women, it’s recommended that the seat is about 1 to 2 inches larger than the interischial distance, or the distance between your “sit bones.” If you’re not able to measure this yourself, I recommend simply looking up a bike seat designed for women or men. Women will usually have specialized bike seats that can support their wider pelvic region.
- Change the position of your trunk. The trunk can be thought of as the core of your body. When you’re sitting upright on a bike, your trunk is the part of your body that includes your core and upper part of your body. Men can benefit from both a fully cut-out seat and changing their trunk position (either forward or backward).
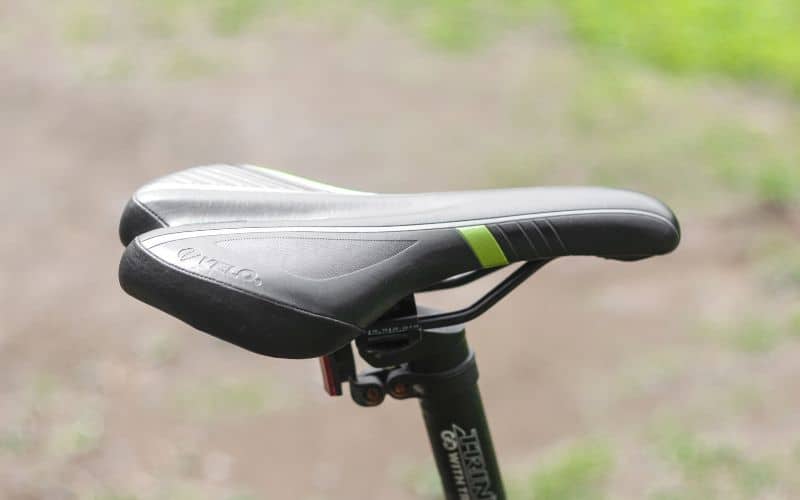
- Opt for an anterior cut-out seat. There are now many seats available that can provide extra comfort due to their novel design – a slit that runs down the middle and either completely separates the seat (known as a complete anterior cut-out), or only partially (known as a partial anterior cut-out). While men benefited from changes in trunk position and a complete anterior cut-out, women actually benefited from a partial anterior cut-out.
Related article – What Bike Size Should I Buy?
General Tips To Make Your Bike Seat More Comfortable
In addition to the tips listed above, there are also some sure ways to make your bike seat comfortable for both men and women! These tips include:
- Find a gel pad to place directly on top of your seat. This extra cushioning can be incredibly helpful to prevent injuries such as sores while on a bumpy road. There are lots of gel pads available online that you can use to place directly on your seat for a quick, cheap, and easy fix. Try something like this.
- Find a foam pad for your bike seat. These foam pads are different than gel pads, which usually mold to your body. Foam, on the other hand, provides some spring and elasticity, meaning it’ll be able to bounce back into shape and is better for longer commutes.
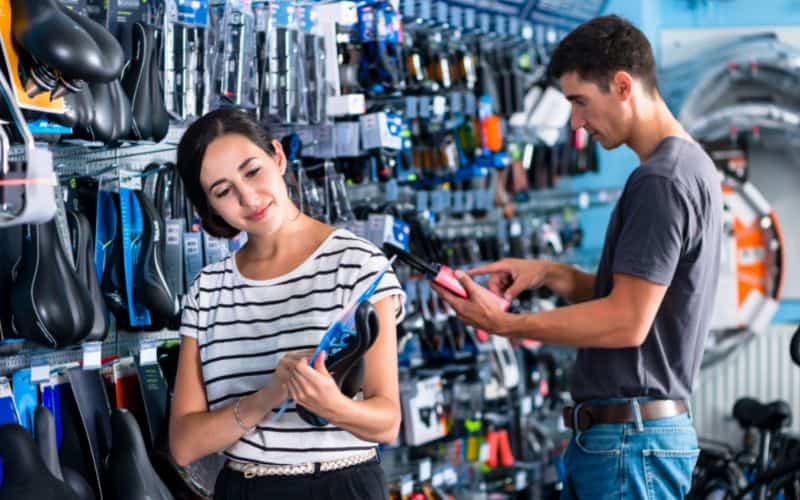
- Test out a new bike seat before you put it on your bike. Many bike shops will allow you to test out different bicycle seats and pads to see which works for you. Just ask them for help, and support your local business all in a single swoop!
- Adjust your bike seat height. The less pelvic drop you have, the more comfortable and more properly positioned your seat is. In addition, if you look at your leg from a side view when it is at the lowest position on the pedal, there should be a slight bend between 25 and 35 degrees.
Once you’ve found your new bike seat, gel pad, or foam pad, you’ll need to learn how to make your bike seat more comfortable with gel or foam, or with a new seat. Below are the steps to take!
Interesting read – Why Do Bike Seats Have A Hole In Them?
Step By Step Guide On Making Your Bike Seat Comfortable
Materials: New bike seat, gel, or foam pad. A hex key, which is a special type of “screwdriver” shaped like a hexagon that fits into your seat clamp. I recommend buying a handy ring that has different-sized hex keys. One of them is bound to fit your bike’s seat clamp if it is standard.
- Step 1: Visit your local bike shop (yes, make some friends, interact, and have fun) and ask to try out different seats, gel, or foam pads. Ask if these seats are designed for men or women, commuting, long trips, or mountain biking since there will be slightly different variations.
- Step 2: Make sure the pad or seat is compatible with your bike. Fortunately, many pads have drawstrings that can easily be placed over the seat or slipped over it. If you’re simply placing a pad over your existing seat, tighten it and take it for a test run to ensure it is properly fitted during longer rides.
- Step 3: If you’re replacing your seat with an anterior cut-out, posterior cut-out, or another type of seat, remove your old bike seat by using your hex bolt on the seat clamp. The seat clamp is located at the very bottom of your seat and has a hole shaped like a hexagon. Place your hex key and turn counterclockwise to remove the seat.
- Step 4: Some bikes will have a quick release, which allows you to remove the entire seat post (the pole that supports the saddle) and then replace the saddle separately. To take the seat off with a quick release, spin the quick release handle which resembles a valve at the bottom of your seat post. Turn it clockwise until the seat post loosens and comes off. Then, you can take the seat off using your hex key and seat clamp.
- Step 5: Take your new seat and slide it onto the seat post using its attached metal plate into the seat clamp. Once the plate is flush and secure, tighten it to your bike’s frame using the hex key.
- Step 6: Place the seat post and the new seat back onto your bike, and spin the quick release handle counterclockwise to tighten.
- Step 7: Change the seat height to prevent an excessive pelvic drop.
- Step 8: Change the tilt of your saddle to arch more downward or upward. Remember that for females, downward is better, and for males, upward is better. To do so, use your hex key to loosen or tighten the bolts at the very front and back of your seat clamp.