
Are your gears slipping more than they should be? Or maybe you’ve noticed a bit of slack in your bike chain?
I’m going to show you how to tighten a bike chain so you can fix the issue without the need to visit your local bike shop!
It’s something that seems quite fiddly when you start but after doing it a few times, it’s straightforward. Scouts honor. 🙂
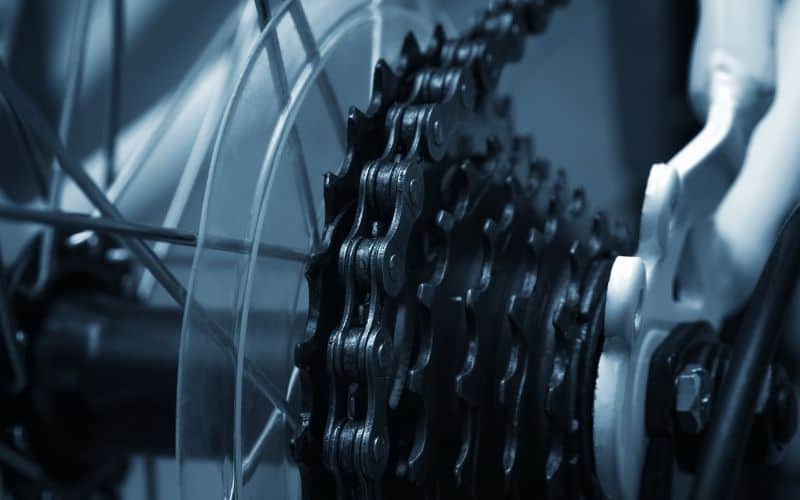
Single Gear vs Derailleur – Does It Make A Difference?
Depending on which bike you have, it will make a difference in how you go about tightening your chain. For the simple fact that with a derailleur bike, you need to allow for the fact that the bike has gears and therefore it needs to be able to change into those gears so the tension requirement is different.
A loose chain on a geared bike has the potential to cause more issues too. With a single gear bike, the chain will just hang down. However, with a derailleur bike, a loose chain can get caught in other components.
If you notice that your chain is loose on a multi-geared bike, I’d recommend that you stop riding it and try to resolve the issue as quickly as you can to prevent damage to other components.
I’d still recommend tightening your chain as quickly as you can on a single-geared bike but there is less to go wrong!
How To Tighten A Bike Chain In 6 Easy Steps
We’ll cover both single gear and multi-gear bikes in this. Where there are separate instructions, I’ve made it clear.
If you’re not sure what a single gear bike is, you can read Fixed Gear bike vs Single Speed.
Tools Needed
- Socket wrench
- Bike lubricant
- Old rag
- Gloves
- Bike stand (optional. Otherwise turn your bike upside down)
Related article – Best Bike Tool Kit For DIY Maintenance
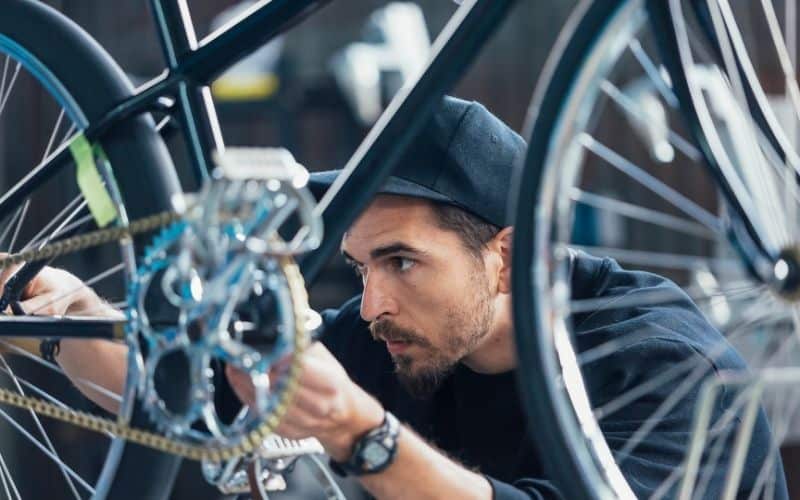
Step 1: Set Your Bike Up Correctly
If you have a bike stand, attach your bike to it.
For those that don’t have a bike stand, all you have to do is flip the bike over and stand it up that way.
Depending on the surface of where you’re doing this, I’d recommend that you place a piece of cardboard or newspaper down, this will help to prevent scratching the saddle. Yes, I have learned this lesson the hard way 😭
Step 2: Loosen The Rear Axle
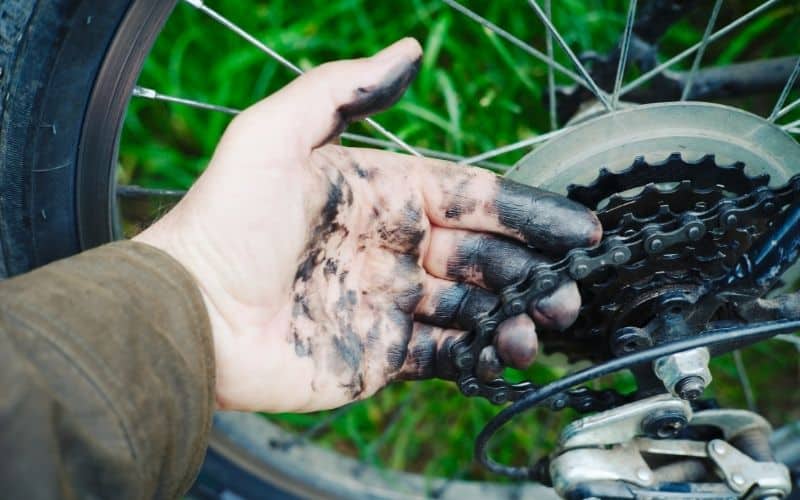
The gloves are optional but I’d recommend wearing them as you’re bound to end up with grubby hands otherwise.
To be able to get to the chain, you’re going to need to remove the nuts that hold the tire to the bike.
For this, you’ll need to use the socket wrench. Turn them slowly until they’re loose.
If you have a multi-gear bike you will need to first find the derailleur screw and loosen it. Finding the screw usually involves finding the letter B on the derailleur. To increase tension on the bike chain, you need to turn the screw clockwise.
Step 3: Pull The Rear Tire Back
This step is about getting more tension on the chain. So you need to pull the tire backward until you get the amount of tension you want on the chain.
One thing you do need to be mindful about is that the tire remains centered, this will make getting it back in place easier.
For multi-geared bikes, this is slightly different because of the brake cables. You’re going to need to disconnect the brakes from the cables.
Step 4: Ensure You Have The Correct Chain Tension
In the simplest of terms, you want the chain to be able to move half an inch in either direction.
When you’re pulling the tire back, you’re going to feel the tension of the chain change. So if you find that it moves too much in either direction then it isn’t tight enough and you should push it around a bit more on the tire.
However, if it’s too tight, then you won’t be able to turn the pedals.
When you make adjustments on a multi-geared bike, you should lower the brake lever as this is the best way to check the tension on the bike chain.
Step 5: Put The Rear Tire Back In Place
Once you have found the correct tension then you can get the rear tire back into its rightful place and return the axle nuts too.
For multi-geared bikes, you need to first tighten the derailleur screw to the necessary level, then you can put the rear tire back in its place. Also, don’t forget about reconnecting the brakes!
Step 6: Test!
Before you ride your bike, move the chain a little in both directions. If things are good, it should move around half an inch in both directions.
Give the tire a spin too to ensure that it’s moving freely.
If either isn’t how it should be, repeat the process. Once you’re happy that everything is how it should be, apply some lubricant to the chain.
For those who prefer a visual guide, you might want to check this video out:
What Happens if Your Bike Chain Is Too Loose?
A loose chain on a bike will speed up the wear of the components on your drivetrain as the chain will be catching places where it shouldn’t be. This will mean that you’ll have to replace these parts more often than you otherwise would – not good!
In addition to this, it can lead to your chain dropping off. Having experienced this myself, I can tell you it’s incredibly frustrating as it never happens at a good moment and honestly, it can be a bit dangerous.
There’s also the possibility of the chain getting stuck into other parts of the bike, which I don’t need to tell you, can cause some serious damage to your bike…and you!
So to cut a long story short, it’s expensive as you have to keep replacing parts and you might fall off. Neither is ideal!
How Tight Should A Bike Chain Be?
For bikes without a derailleur, then you should be able to lift the chain around half an inch above the resting position at the middle point of the chain.
A sign that the chain is too tight is if you hear a binding noise coming from the drivetrain as you’re pedaling.
On the flip side, if your chain is too loose, you might find that it skips or drops at times. Visually, you may be able to see it sag.
If your bike has a derailleur then a chain that is too loose will sag when it’s in a “small-small” gear combination so a quick look and that should be clear.
When a chain is too tight, you will find that changing gear when in a “big-big” combination is almost impossible. Of course, you shouldn’t really be putting your bike into that gear combination but it’s a good indicator!
A chain that is sized correctly will have no problem shifting into those gears. There will be no sagging or getting stuck.
Frequently Asked Questions
What Causes My Bike Chain To Become Loose?
It doesn’t matter how often you maintain your bike, the chain does come loose and that happens for several reasons. The most common reason for this happening is a new chain on an old bike.
Parts get worn away over time, it can’t be helped, it just happens. However, when you fit a new chain to those worn parts, the fit isn’t always 100%. You might find that your new chain will jump around and become loose as you’re riding.
It’s an easy fix, just tighten the chain (you can find the steps above 😉).
Sometimes it can be that there are loose nuts on the rear axle. The issue with this is that they shorten the distance between the wheel and the pedals.
If you find yourself having to tighten your chain often and you have a bike with a derailleur, then it’s worth checking the derailleur, it could be that it’s bent and is causing the chain to become loose.
Related article – Common Reasons Behind Why Your Bike Chain Is Slipping
When Should I Replace My Bike Chain?
If your chain is old, then it’s most likely time to replace it. There’s only so much tightening you can do.
The good news is that new chains aren’t expensive, they also have the benefit that they don’t cause as much wear on other components as older chains so it’s good for your bike!
Having said that, if your chain is pretty new, then I’d look at tightening your chain rather than replacing it.
Related article – How To Remove Rust From Bike Chain
Final Thoughts
Bike chains have a habit of coming loose and it can be for a number of different reasons. Knowing how to tighten up your chain yourself can save you some time and some money so it’s worth knowing how to do it.
The process is slightly different for single-speed bikes than it is for multi-gear bikes so just keep that in mind.
Get to grips with the steps and reap the rewards! 😀
You may also be interested in: