Are you tired of feeling intimidated by the mere thought of bike maintenance? Does the idea of tinkering with your two-wheeled ride make you break out in a sweat?
Fear not, fellow cyclists! While bike maintenance may seem daunting, it’s actually a crucial skill that every rider should possess. Not only will it ensure that your bike is in top condition and safe to ride, but it can also be incredibly satisfying to tackle the basics yourself.
So grab your wrench and let’s go through how to maintain your bike for tip-top performance.
Before We Get Started
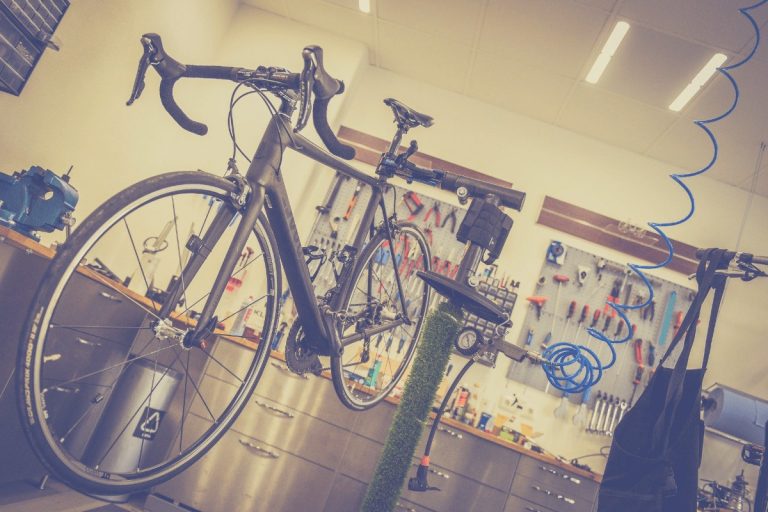
To help perform some of the following bike maintenance tips, a mechanic’s bike stand is handy for elevating your bike to eye level.
If you don’t have one, some indoor trainers will allow you to at least have the rear wheel free to spin (obviously without any tension on the tire). It will also hold the bike while you do some tinkering.
If none of those are in your arsenal, flip your bike upside down for ease of cleaning the chain and cassette. Be sure you set it on grass or some towels so you don’t mar your saddle, handlebar, brake hoods, and tape.
Now would be a good time to grab your bike tool kit as well!
Keep Your Drivetrain Rocking!
No. Drivetrain isn’t the band from the hit show, Lost (that was Drive Shaft) but are the parts that move your bike:
- Crank, chainrings, hub
- Chain
- Cassette (or freewheel)
- Derailleur (front and rear)
For the sake of time, and because these particular components require more skill than what I’ll be focusing on, we’ll skip the hubs and derailleurs.
Maintain Your Bike Crank/Chainrings
- Make sure chainrings are true and not bent
- Straddle your bike and eyeball your chainring
- Spin the crank and look for any wobble
- If bent, seek assistance from your local bike shop
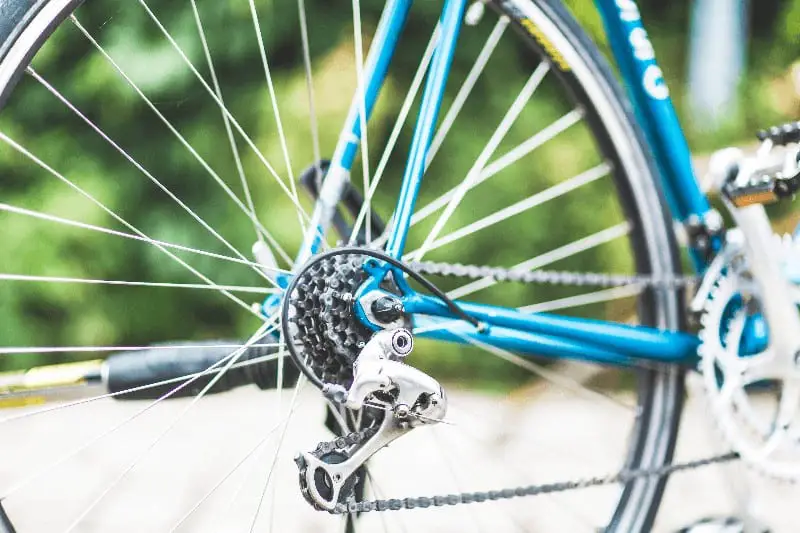
The Chain
Clean and lube your chain regularly, especially after wet rides. Not only will a clean, well-lubed chain shift better, but your ride will also be quieter and you’ll prolong the life of your cassette or freewheel.
Additionally, at least once a year let your local bike shop check the chain for wear. Alternatively, you can pick up a chain checker like the Park Tool CC-2 which measures the distance between 2 chain links. Over time, the chain links stretch and could ruin your cassette/freewheel.
How to clean your chain
- Gather your cleaning supplies. To give your bike chain the TLC it deserves, you’ll need the following items:
- A chain cleaning device (Optional but very handy)
- Degreaser or bike-specific chain cleaner
- A small brush or old toothbrush
- A bucket of soapy water
- Clean rags or old towels
- Bike-specific chain lube (not to be confused with oil!)
- Remove the chain. This is optional and depends on how thorough a cleaning you’re planning. If it’s been ages since you last cleaned it, removing the chain might be a good idea. Use a chain tool for this purpose. If it’s a quick cleanup, you can leave it on
- Apply your degreaser. Attach your chain cleaning device if you have one, fill it with the degreaser, and pedal away. If you don’t have a chain cleaner, no problem! Simply apply degreaser to your brush and scrub away at the chain
- Scrub-a-dub-dub! Now it’s time to show that dirt who’s boss. Scrub the chain thoroughly with your brush. Make sure to get into those tiny nooks and crannies – they’re the favorite hiding spots of dirt and grime!
- Rinse and repeat. After you’ve scrubbed your heart out, rinse the chain with your soapy water. This should wash away any leftover degreaser and stubborn dirt. If the chain is still looking a little sad, don’t be afraid to repeat the scrubbing process.
- Dry and re-apply. Once your chain is sparkly clean, you’ll want to dry it thoroughly. Water left on the chain can cause rusting, which is a big no-no. Use a clean, dry towel for this. Once it’s dry, reattach the chain (if you removed it) and apply your bike-specific chain lube. Remember, a well-lubricated chain equals a happy bike ride!
A few extra tips:
- Do this outside as it will be messy
- Clean chain with a degreaser; make sure you don’t get any on your frame as some products can ruin the clear coat finish on your bike
- Use a nylon brush to clean the links
- Re-lube with a quality chain lube
Here’s a great video on cleaning your drivetrain:
Check Those Brakes
There are two types of brakes on road bikes. A caliper brake and a disc brake.
Caliper brakes squeeze a rubber pad against the wheel rim to bring the bike to a stop. Brake pads can last for many seasons, so unless you have a bike whose pads haven’t been replaced in years, you’re probably good to go.
Caliper Brake Maintenance
- Make sure you have the correct brake pad for the type of wheels you use
- Rubber for aluminum wheelsets and cork for carbon fiber wheelsets
- Make sure the pads contact the rim (not the tire) squarely and evenly
- You can adjust by loosening the bolt to raise, lower, or rotate
- Make sure the pads aren’t rubbing the rim
- Micro adjustments are made by turning the barrel adjuster located on the cable near the brake
- Sometimes the brakes rub because the wheel is warped or needs to be trued. Your local bike shop can solve this problem for you
- Annually, clean the pad’s contact area with sandpaper or a file. Do this gently; the goal is to remove road gunk and hardened rubber
- If you go through all the above and your brakes still feel a bit iffy, it’s time to replace your brakes
Disc Or Hydraulic Brakes
Unlike caliper brakes that squeeze rubber against a rim, the hydraulic system pushes pads against a metal disc. Disc brakes are unaffected by wet conditions and require less hand strength to squeeze the brake lever.
However, they’re trickier to work on because if you are not careful, you can accidentally have the pistons pop out. Should you need to bleed your system, every manufacturer has different oils and techniques to use.
Because of these intricacies, I’m going to suggest the video below for detailed instructions:
Fixing A Flat
Every cyclist should know how to fix a flat.
You’ll encounter a flat more often than any other mechanical issue and if you’re like me, it will often happen at the most inopportune time.
For the sake of time, I’ll describe how to fix a flat with a clincher. When I ride, I always carry the following in my saddle bag:
- Spare inner tube
- Tire irons (actually, they’re plastic!)
- CO2 bike tire inflator and dispenser
Follow these steps for fixing a flat:
- Get off the road! Make sure you’re safe from cars before doing any work
- Release the brake quick-release and remove the wheel
- With a tire iron, pry the tire’s lip up and over the rim then secure the iron to a spoke
- Using another iron, pry up more of the tire near the first iron and work your way around the wheel
- Don’t take off the tire; keep one lip of the tire on the rim
- Remove the damaged tube
- Run your finger carefully inside the rim to remove any foreign object
- Put in your new tube; start by inserting the valve through the hole in the rim
- Once the tube is in place, use your hands and fingers to remount the wheel onto the other lip of the rim
- If at the end you can’t push the tire onto the rim because it’s too tight, use a tire iron but be extra careful not to make contact with the tube; you could puncture it
- Use your electric pump or CO2 to inflate the tire
- Finally, reinstall the wheel onto your bike
Here’s a video to show you how easy it is to fix a flat:
Replacing or Upgrading Components
Once you become a Road Warrior and the miles pile up, you’ll need to replace worn parts. You may also want to upgrade components for an improved ride.
Replace Worn Parts
Tires
These are the most frequent items you replace due to the loss of rubber from road contact. Tires can have a big impact on how your bike handles and feels on the road.
If you’ve never tried a higher-end tire, like my favorite: the Continental Grand Prix 5000, it’s something to consider. Some tires offer more puncture resistance while others are geared for racing or commuting.
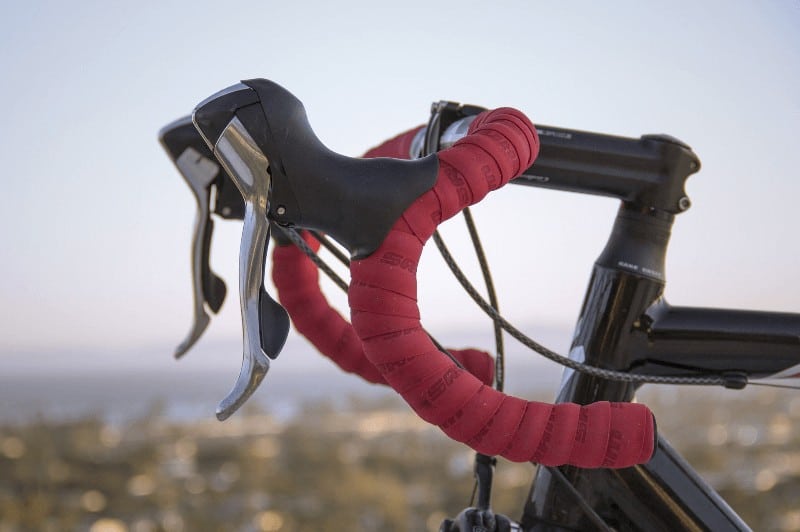
Handlebar tape
True, if you have black tape, you probably don’t need to replace it often since it doesn’t look grungy like colored tape.
On the other hand, the new handlebar tape can give your bike a unique look and feel, too. And like tires, there is a lot of variety of colors and materials. I personally like bar tape that is made of synthetic material, is grippy, and has a little gel for a cush ride.
Chain
As I mentioned earlier, in time, you’ll need to replace your chain. If you’re trying to make your bike lighter, this is an area where you can shed some weight. Just be sure you’re getting the correct chain for your bike as they vary depending on how many gears you have.
Upgrading
If you’re like me, you invested in a bike with a great frame but had inexpensive components. I was okay with this because I knew that over time, I’d upgrade them. If you’re in the same boat, here are some things to consider:
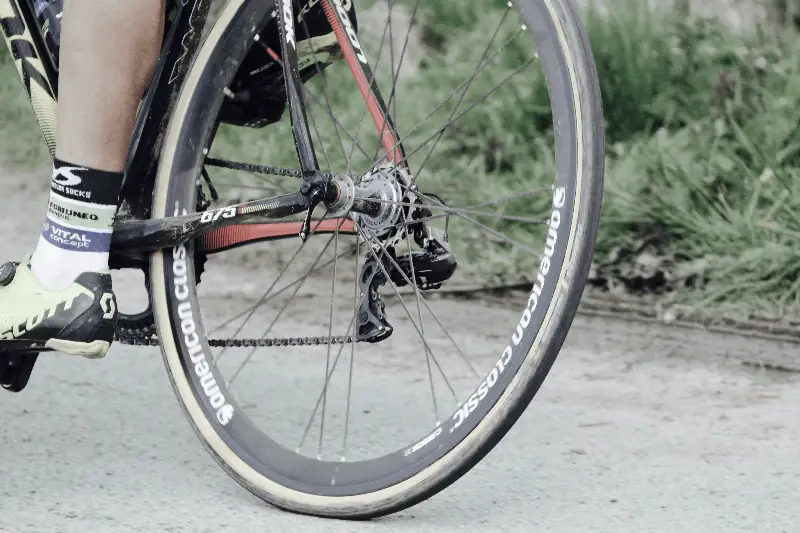
Wheels
This is where manufacturers usually compromise in order to keep bike prices within a certain range. A great set of wheels cannot only improve your riding experience but can shed weight, especially if you go with carbon fiber wheels. But be prepared to shell out some cash!
Handlebars
I upgraded my stock aluminum handlebar for a carbon fiber model. Yes, it’s lighter, and yes, the carbon absorbs more road shock, but I loved how this model has what I call a “sweet spot” for my hands near the hoods. It’s amazingly comfortable.
Brake set
My bike came with inexpensive brakes, so these were the first things I replaced. I went with Ultegra that are considerably lighter and worked more efficiently, too.
Here are a few other components you may also consider upgrading:
- Seat post
- Seat
- Crankset
Keep it Clean
No, I’m not talking about your riding banter, although for some of you, maybe I should! I’m talking about your bike.
Nothing looks sharper than an immaculately clean bike. Not only will you dazzle your friends when it glistens in the sunlight, but it will operate better, too. Here’s a personal story to illustrate this.
During the summer months, I guzzle a lot of electrolyte sports drinks. Evidently, I’m a slob because I get the stuff all over my frame and bottom bracket. I guess you could say I have a drinking problem :)!
Several days later (without cleaning my bike), my front derailleur was sluggish. I got home and thought I needed to adjust the cable. Instead, I flipped the bike over and noticed dried, caked-on sugars from my drinks covering the front derailleur cable.
I gave my bike a good cleaning and voila! Problem solved; shifting was back to normal.
For a clean ride, try using these:
- Warm water and mild soap or household cleaner in a spray bottle. Don’t use heavy-duty cleaners or those noted for cutting grease or lime or rust; you may ruin your clearcoat or paint
- Sponge or soft cloth for cleaning
- Clearcoat polish (used on cars). I’ll sometimes skip the soapy suds and use this as it cleans and polishes, too
- Soft cloth for wiping and drying off
Check out this video on cleaning your bike in 5 minutes!
Maintain Your Bike!
I hope you’ve learned a tip or two that will demystify bike maintenance and make it something you can take pride in doing yourself.
Hopefully, it will help save you a few $$ instead of taking it down to the local shop every time there’s an issue.
Do it regularly and before a ride to make sure your bike is ready for whatever the road gives you. It will make you a more confident and safer cyclist. Flying down a hill is not the time to muse, “Gee, I wonder if my brakes need adjusting!”